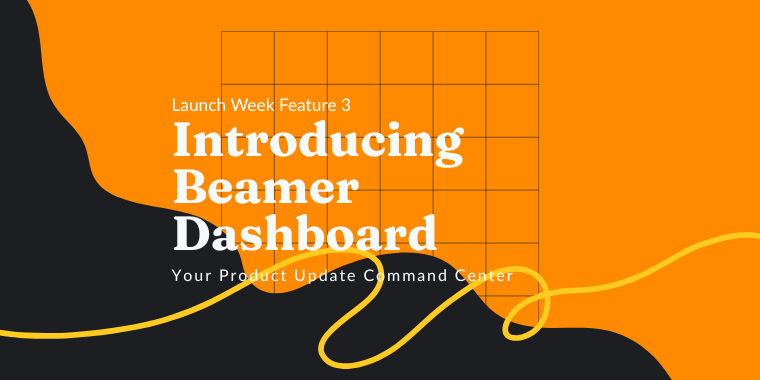
🎉 Now, for the final feature of Launch Week! We give you the Beamer Dashboard:
Learn More
🎉 Now, for the final feature of Launch Week! We give you the Beamer Dashboard:


Mariano Xerez.
September 21, 2021
Beamer changelog has two main modes: an embeddable widget that you can easily include inside your app or site, and a standalone page with its own URL. Think of the latter as an independent hub where you Beamer content is displayed as it were a site on its own or even a blogging platform (if you need a live example, you can check Hotjar's Beamer standalone page).

As the need for more personalization increases, maybe a separate URL is rowing in the opposite direction. Here at Beamer, we pride ourselves in our customization features so we have kept in mind that out customers may want to make their standalone page their own, not just design wise but in naming and address too.
There are many reasons you may want to have a personalized domain name in your Beamer standalone page, and we won't judge. Here a few usual rationales we hear from our customers:
In order to use a path / 'sub-folder' as the URL to your standalone page - what's necessary for your dev team to set up is a 'proxy-pass'. With this you basically set up your web server to redirect requests from a desired path to your Beamer standalone page.
location /updates {
    proxy_pass https://app.getbeamer.com/example$request_uri;
    proxy_ssl_server_name on;
    proxy_set_header HOST $host;
    proxy_set_header X-Forwarded-Proto $scheme;
    proxy_set_header X-Real-IP $remote_addr;
    proxy_set_header X-Forwarded-For $proxy_add_x_forwarded_for;
}/updates to whatever path you'd like to use for this.If you have enabled push notifications, your subscribed users will receive them by default coming from push.getbeamer.com. This is necessary for us to make push work for your site with zero configuration (and zero tech work!).
However, you can still easily set up web push notifications on Beamer to work on your own site (so users will see your domain when they receive a notification). Any web developer or administrator will be able to do this in ~5 minutes.
<link rel=”manifest” href=”/manifest.json” />If you have any doubts about any of the steps described in this article, please contact us. You can chat directly with our support team by clicking on the help button on the bottom right of our app and site. You can also read our Development Documentation and our Help Center.
This article is about Customer Engagement + customer feedback + Product Management + User Engagement + User Feedback


“Beamer is the perfect tool for SaaS companies to engage users and reduce churn. Beamer has helped us achieve huge improvements in click through rates, reductions in churn and increased upselling.”
Benny Waelput
Go-to-Market Marketeer